Mission Santa Clara de Asís
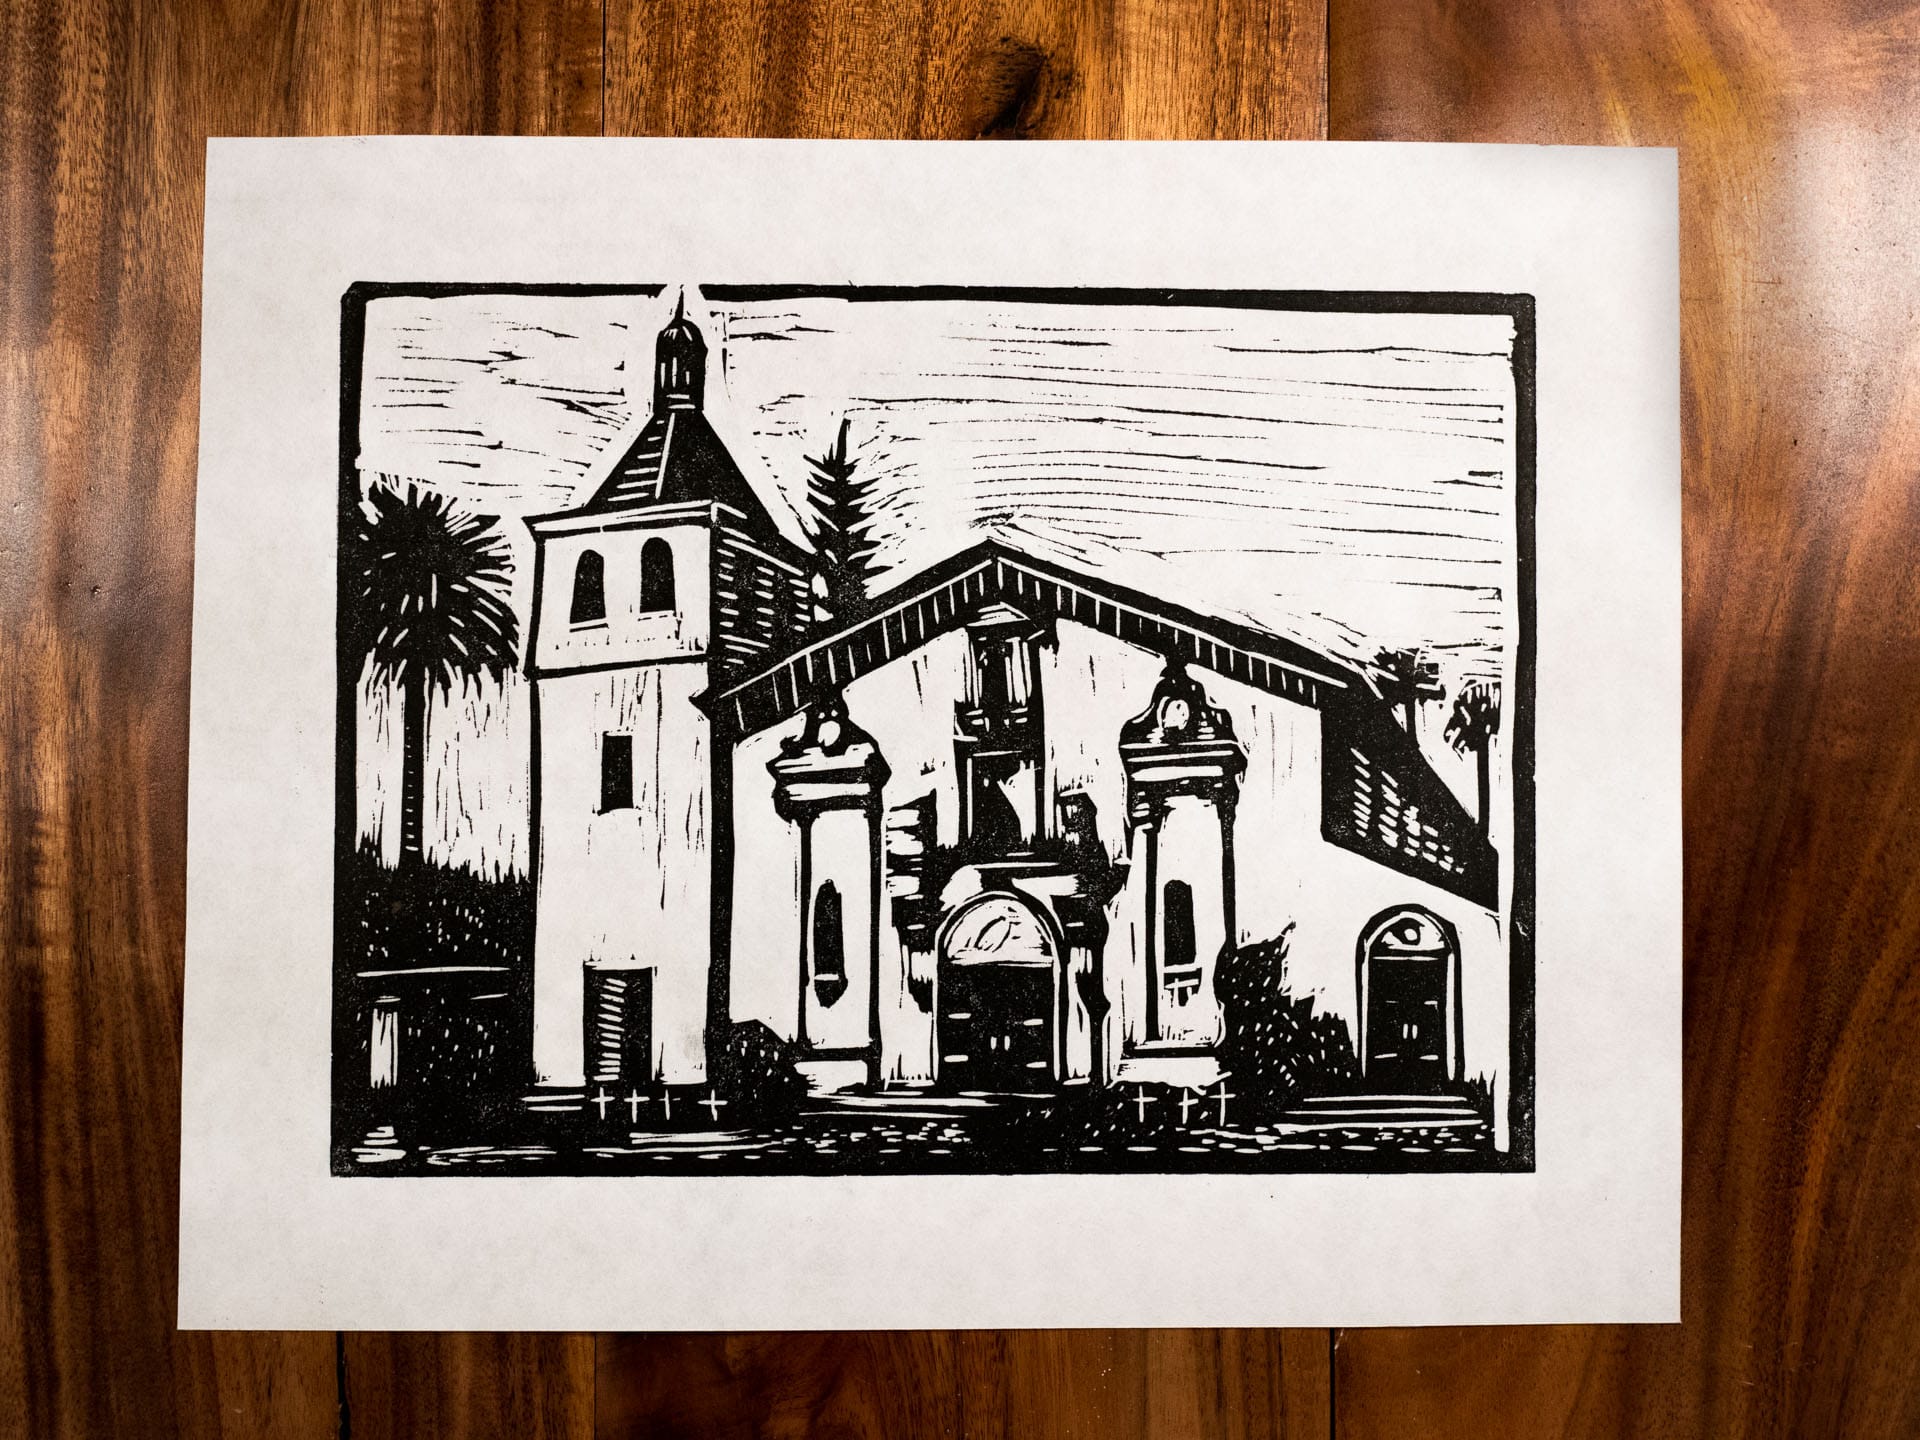
My recent linocut block print is of the Santa Clara Mission, here is a look at the entire process for creating the print. Tricky to measure how much time it took, I'd say several hours over a few weeks, I'm not sitting down and doing it all in one session.
Source Material. I started with a photo I took of the Mission from my Silicon Valley project.

Image Transfer. There are numerous methods for transferring an image to a block. My previous print I used graphite and traced the image onto the linoleum. For this project, I decided to use a toner transfer method.
I converted the photo to black and white, bumped up contrast, and printed on a laser printer. Then using standard Mod Podge, I glued the paper face down on the linoleum block and let dry over night.
The next day using a water and sponge, you rub the paper backing off and the image/toner stays glued down to the linoleum.
![]()
This method works pretty well, especially for detailed images. However it does leave a bit of a thin acrylic layer which occasionally makes carving a little trickier, not too bad though. Mod Podge sells a photo transfer formula which might work better.
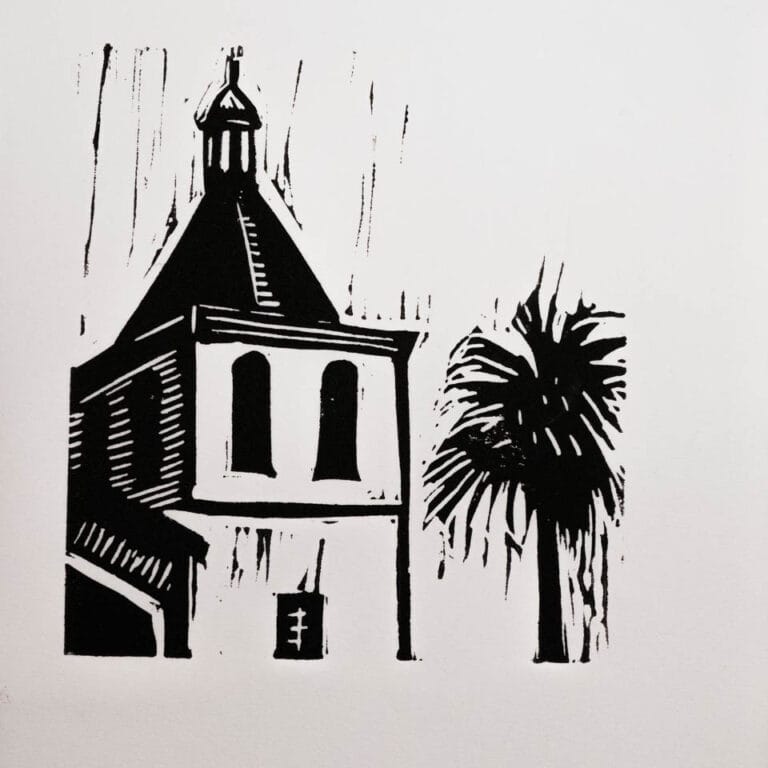
Test Study. I wasn't quite sure how I was going to carve the shadow part of the building, so I did a study on a smaller piece, carved and printed.
Time to carve. After having a general sense of what I wanted, I proceeded to carve. It takes time and best just to take it slow, methodical, and consistent. It's nice to just put on some music and work away. In total it might take two to three hours, I carved about 30-45 min a night.
Test Print. Once I had it carved to about where I wanted, I did a set of test prints on cheap newsprint paper. This gives me an idea of how it is going to print and what areas might need a little more carving.
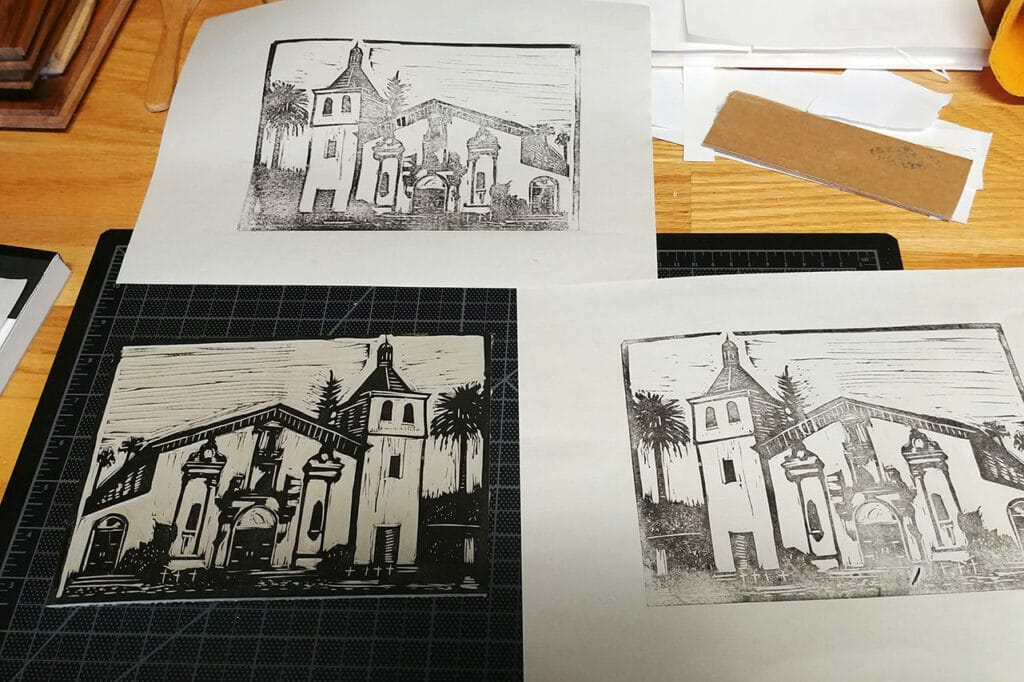
After the test print, I did a few final carved revisions and then the block is ready to print away. Here is a short video of my printing process.
Ink. Press. Print. Repeat.
And there it is, it takes a bit of time, but I love the results; and it is so gratifying creating something with your own hands.