The Reduction Print
Reduction printing is a method for creating a multi-color print. Compared to using multiple blocks, one for each color; the reduction method uses the same block carving away as you go. This method is also called a Suicide Print, since you carve away each layer, the act of creation is an equal act of destruction.
Historical note, Picasso is often cited as the originator of the method, you can see a short video of his reduction prints. Considering woodblock printing dates back to 7th Century China, I find it hard to believe that it took 1,300 years to discover this method of adding color.
The Method
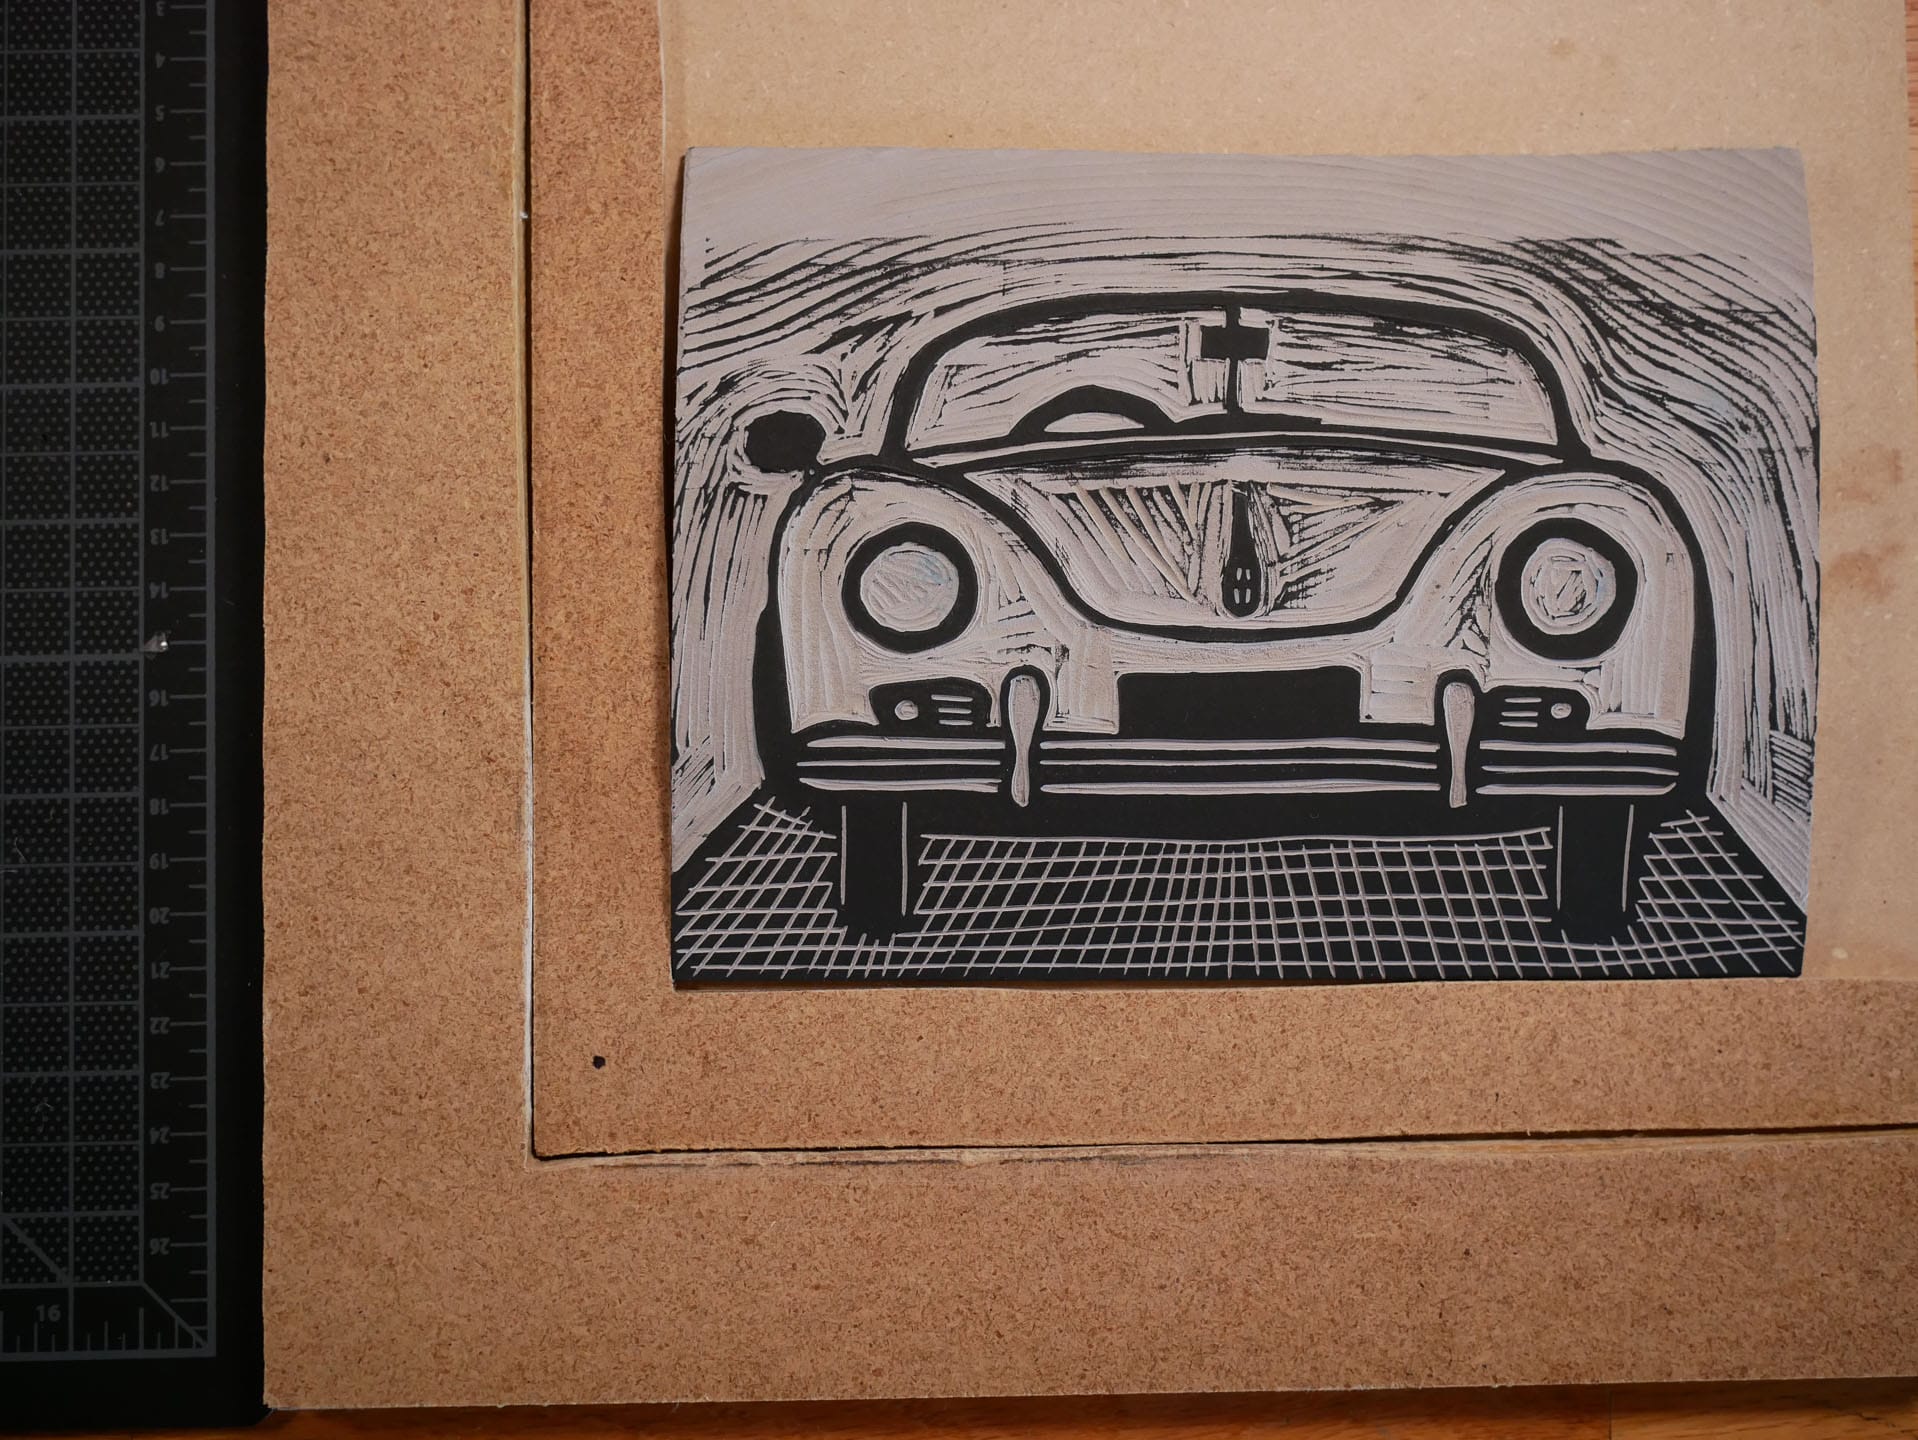
In linocut, it is good to remember what you carve away will not get ink, with that in mind the method is straight-forward. First you carve away everything you want to stay white. You then print your block with the lightest color. Next, you carve out the area you want to keep the color you just added. Your printed paper will have that color, so carving it out of the block keeps that area from getting more ink. Print and repeat the process for each color, getting darker as you go ending on black.
One of the most important parts of reduction printing is registration. Registration refers to lining up your block and paper in the exact same location so each color goes where you want.
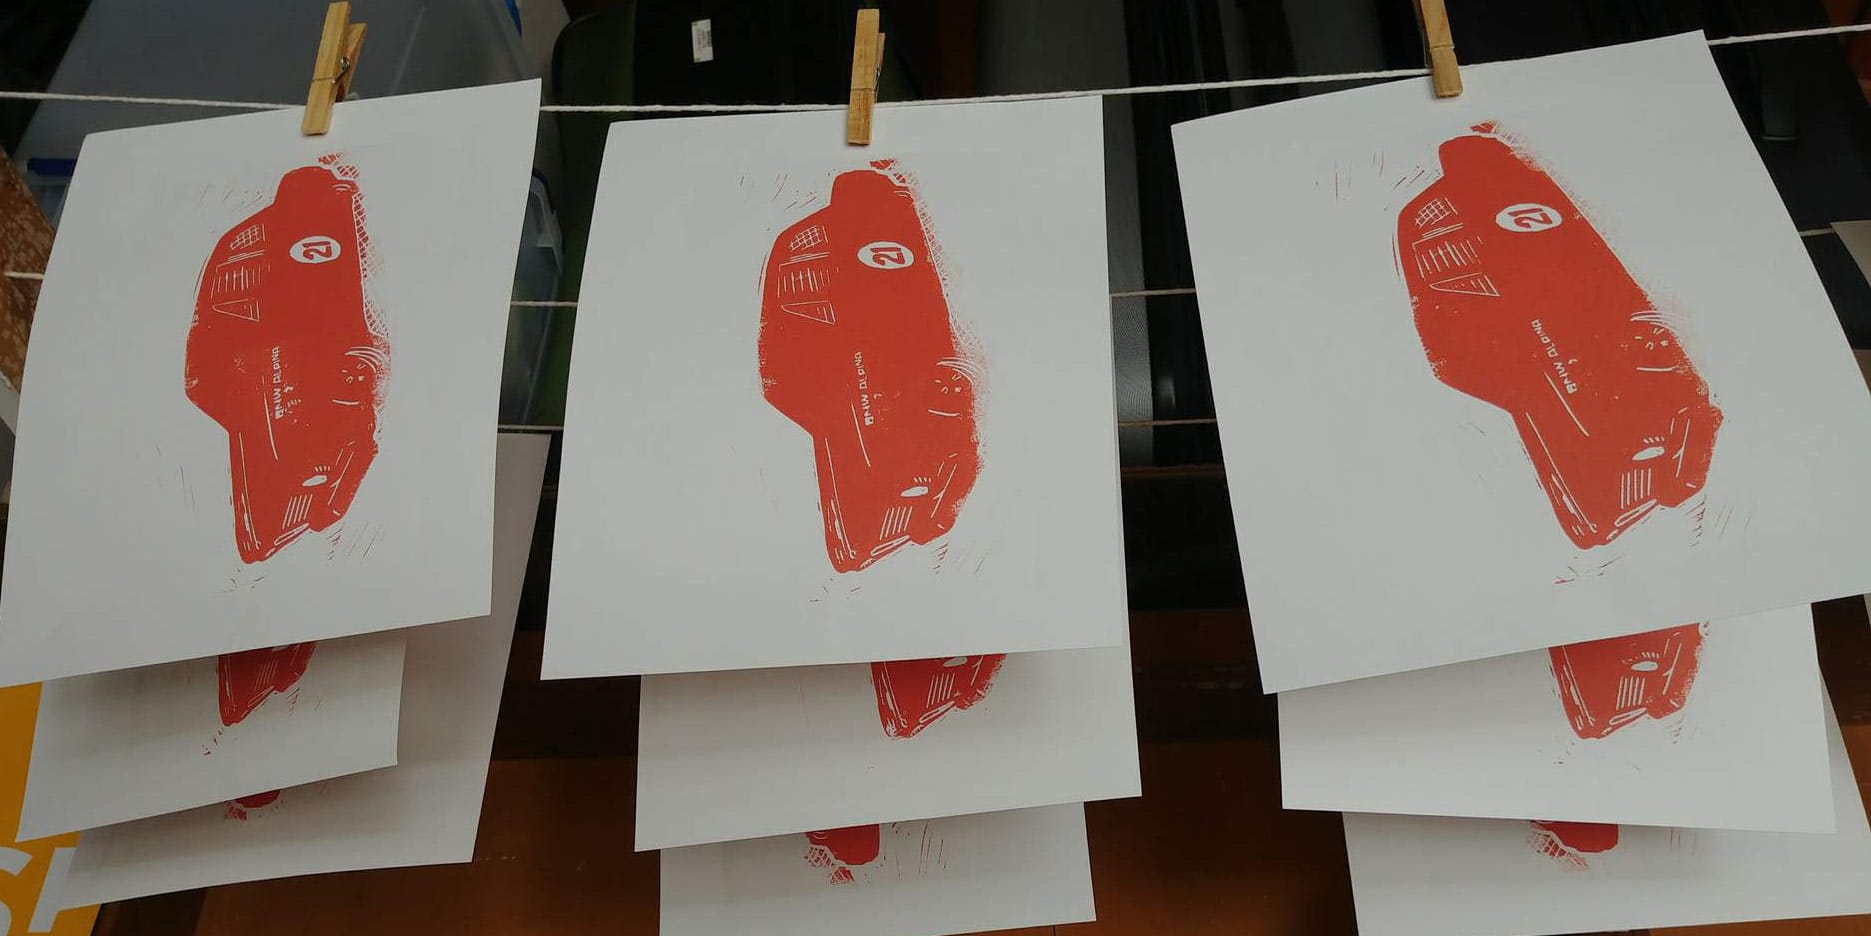
For my first print, I traced out the edges of the bottom left corner where I placed my block and again traced for my paper and then just eyeballed lining up both to those lines.
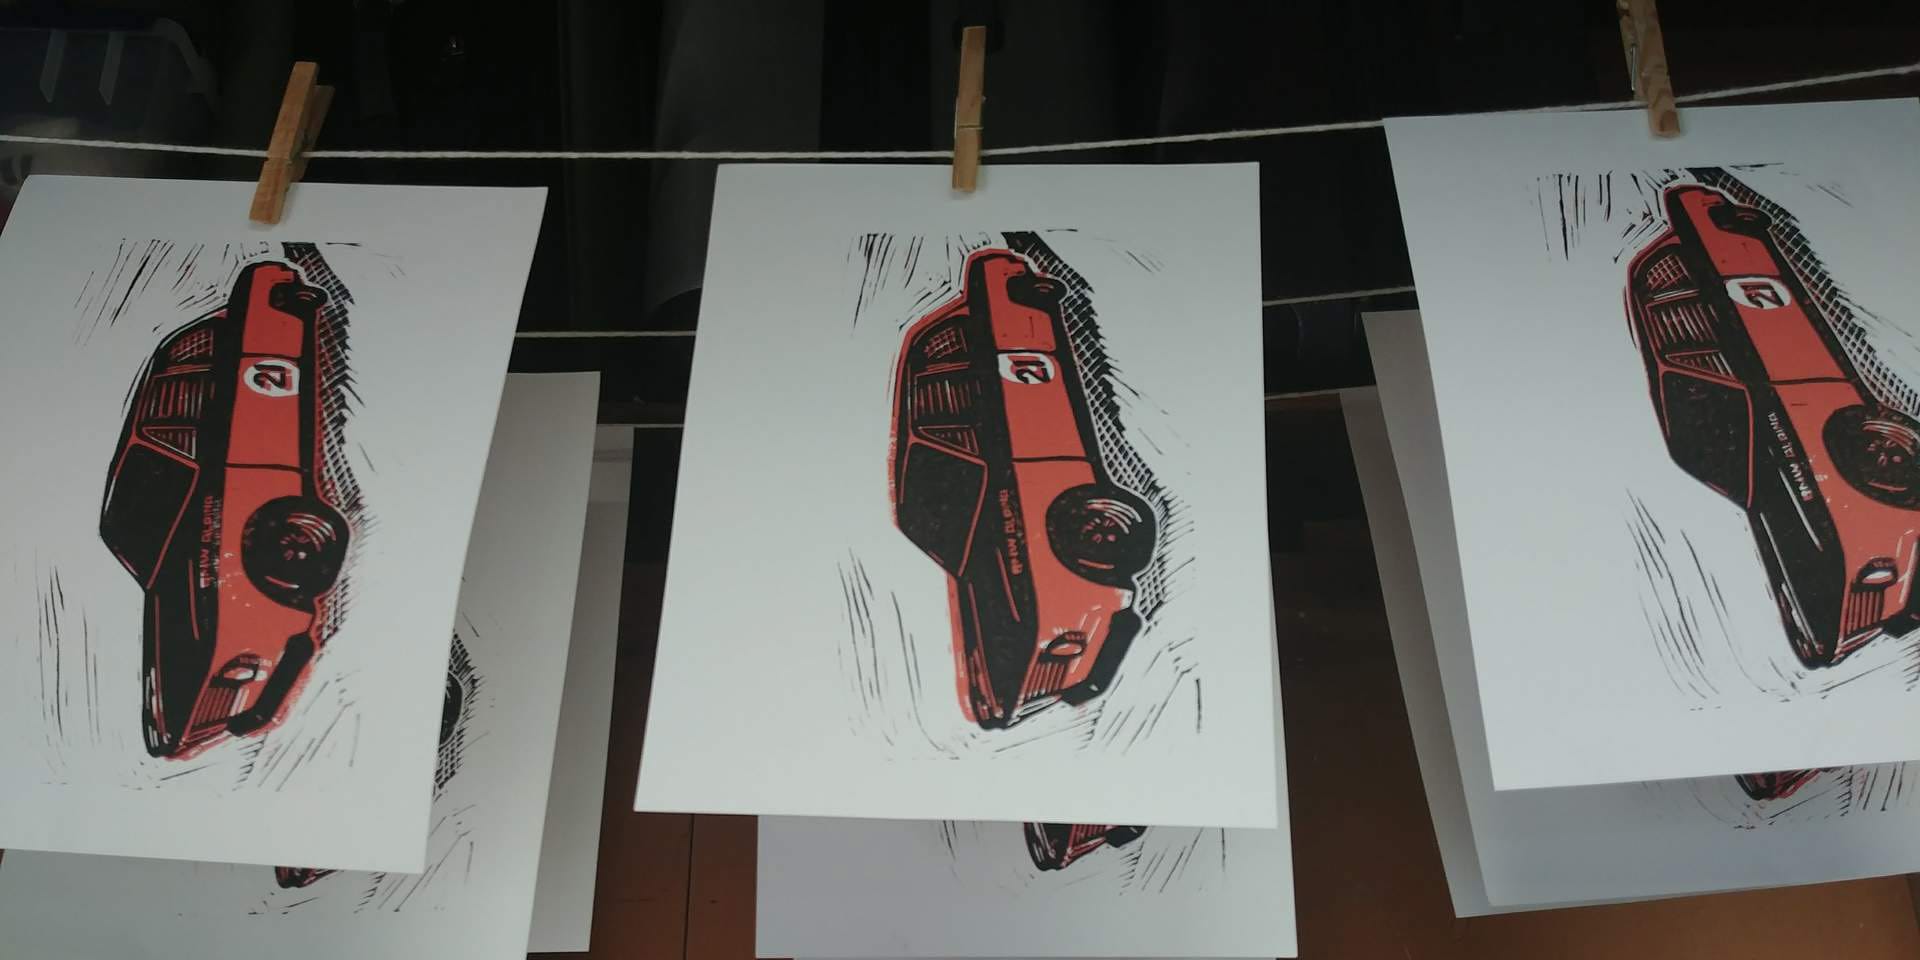
You can see numerous registration errors when I added my black in the second layer, the basic eyeball method isn’t quite precise enough especially for text.
For my second two-color reduction print, I made a simple registration jig consisting of two L shaped pieces. The block would go against the smaller inner L bracket, and the paper against the larger outer L bracket which is twice as thick.
I used a thin piece of MDF board, only a few dollars for a huge sheet at Home Depot, but I only have a hand-held jigsaw and not a proper edged table saw so my lines aren’t that straight. The important part is everything lines up consistently each time, so it doesn’t have to be perfect, just needs to avoid wobbling, a little sanding smoothed it out for me.
I make most brackets now out of cardboard which is a bit easier to work with. The outer bracket size doesn’t really matter, you just need it bigger than your paper, so I have a large one fixed to a board. The inner bracket controls your margin and centering your print on your paper. I have a couple different sizes, a 1/2″ bracket for printing 4″x6″ blocks on 5″x7″ paper, and a 1″ bracket for printing 6″x8″ blocks on 8″x10″ paper.
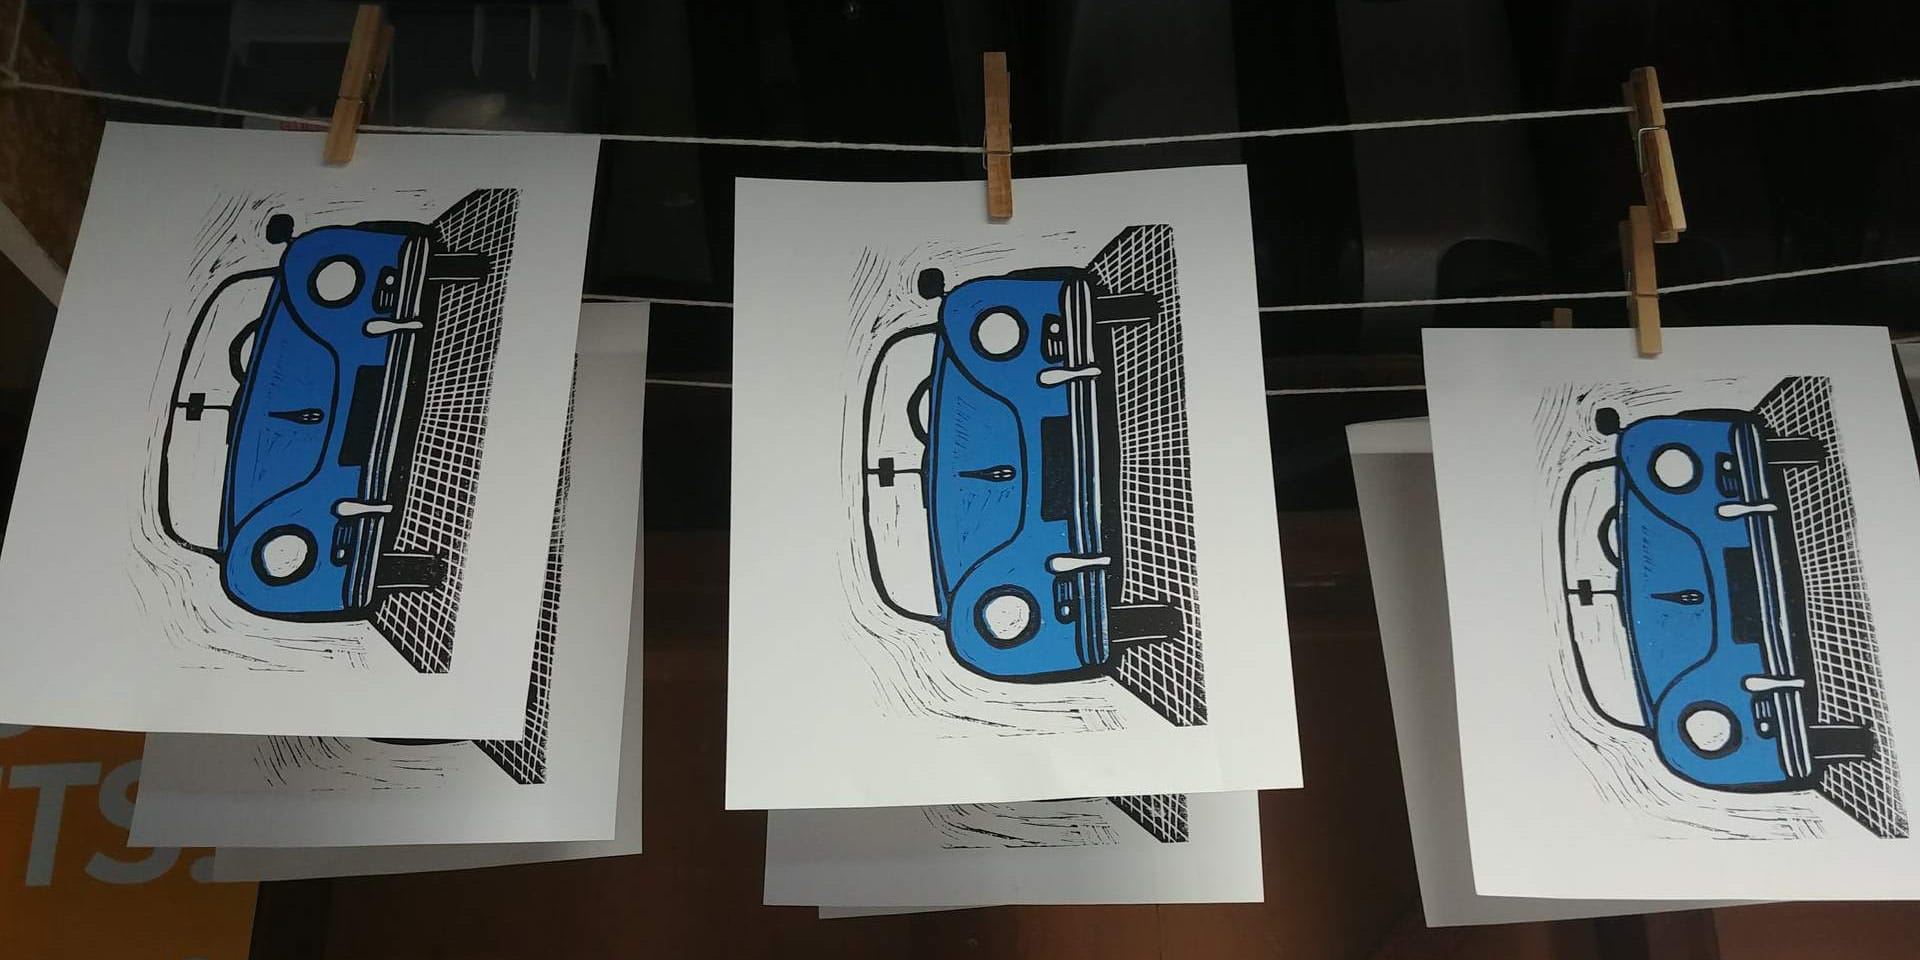
You can see registration worked much better with this second method. To note, I still hand print all my work, hand burnishing each, not sending through a press.
For a video on building a registration jig, check out Diode Press Linocut Tutorial #3, it is a good example making a jig out of foam core. The whole series is a great introduction to linocut.
Notes
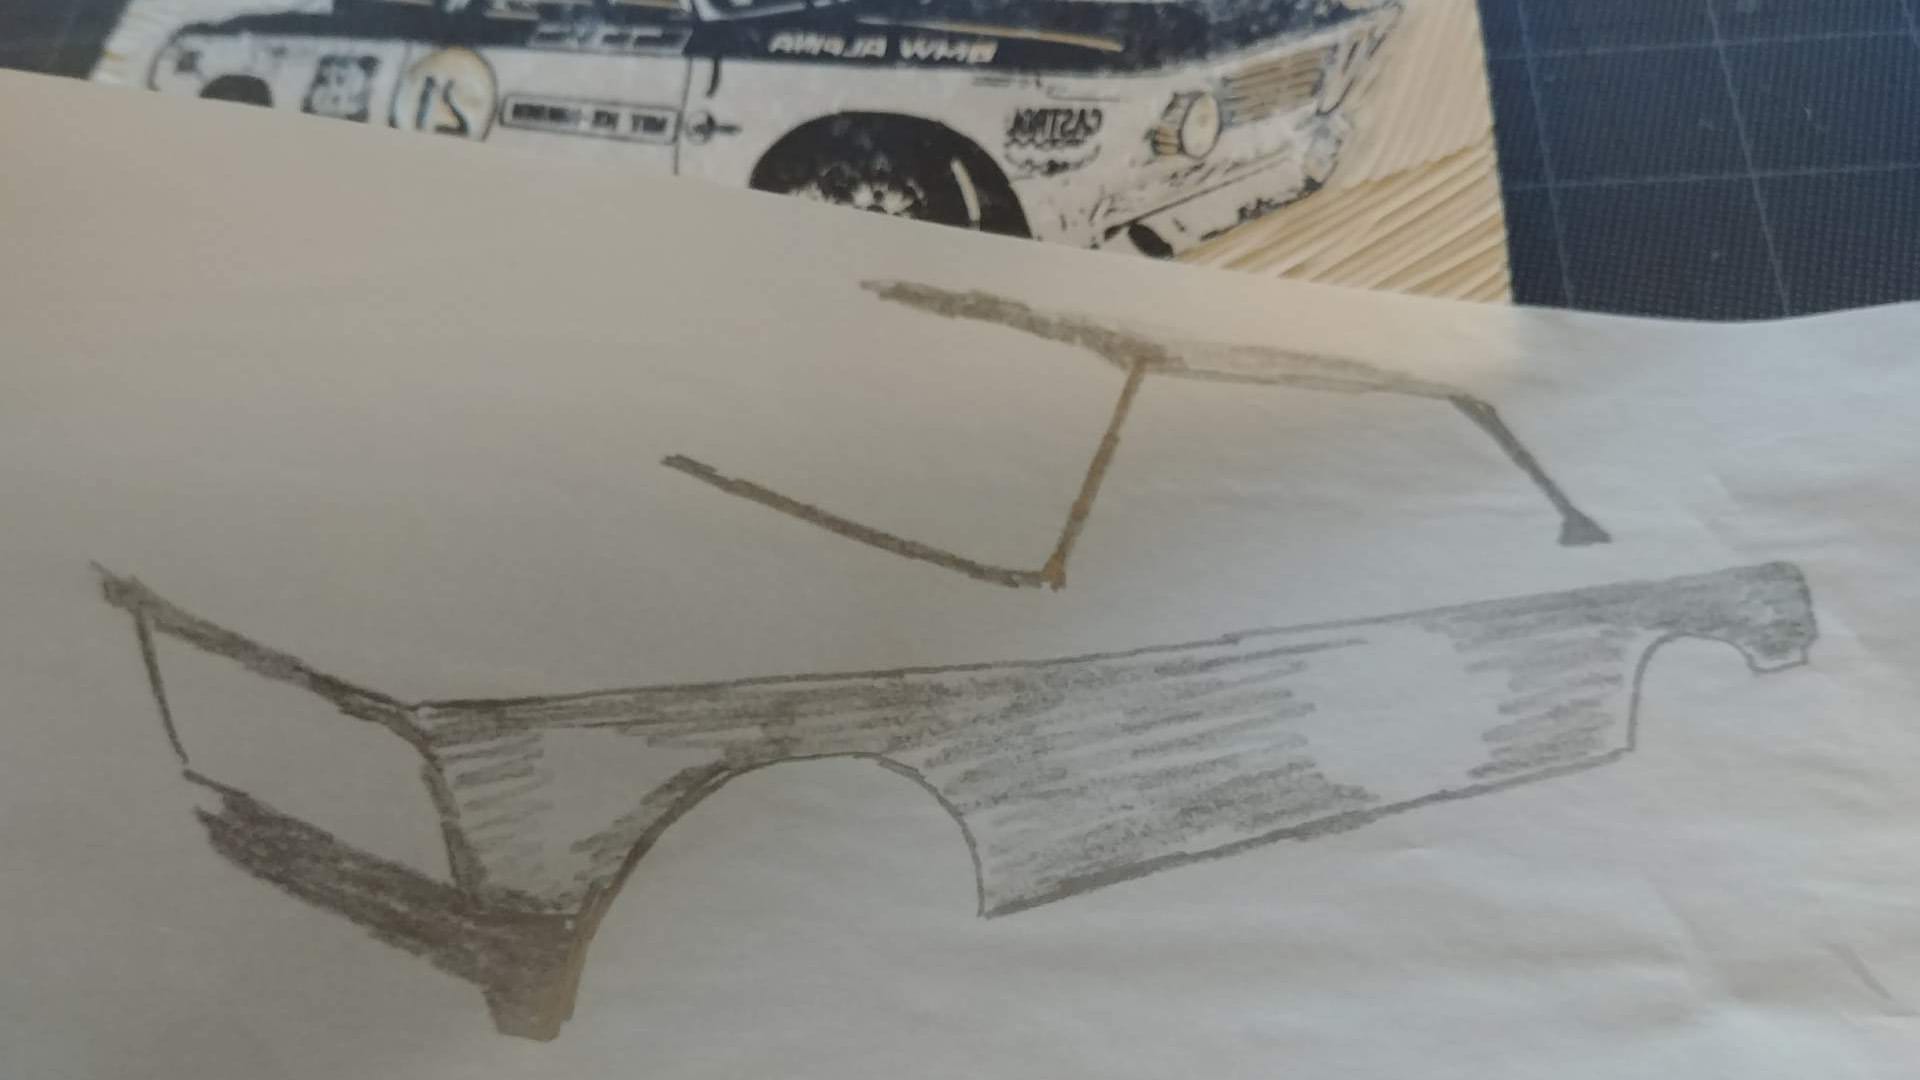
For my first one, I transferred the image using the toner transfer method I mentioned in my last article. I was worried that when I washed the block after printing the orange I would lose the underlying image and not know which area to carve away. So before printing, I traced the part I wanted to remove next, so afterwards I could transfer back to the block if needed.
I didn’t end up needing the traced portion, since the image stayed.
The second print, I transferred the image using a graphite transfer and then drew over on top with a permanent marker. The underlying marker image also maintained between prints and washing.
It’s a good idea to make several extra prints, because however many you print at first is the most you can make; since you carve away at each step. It usually takes me one or two prints to get things printing nice. Also, I use these first two prints through each step, so all the initial work goes to these two, which will probably end up as throwaways.
In summary, it’s a good method I enjoy for creating multi-color prints; plus it uses less material than multi-block prints.