Lighting 02 - Moving Around
The second part in my series to learn more about flash and lighting, I played with moving the light around. You can see the first part in Lighting 01 which I worked on shooting basic portrait lighting.
Gear update: everything is the same as listed in my initial lighting post, however I returned and replaced the Yongnuo 560IV flash with a new unit and it fires properly without requiring any fidgeting with the settings, seems to happen with Fuji and Yongnuo.
On to the photos…
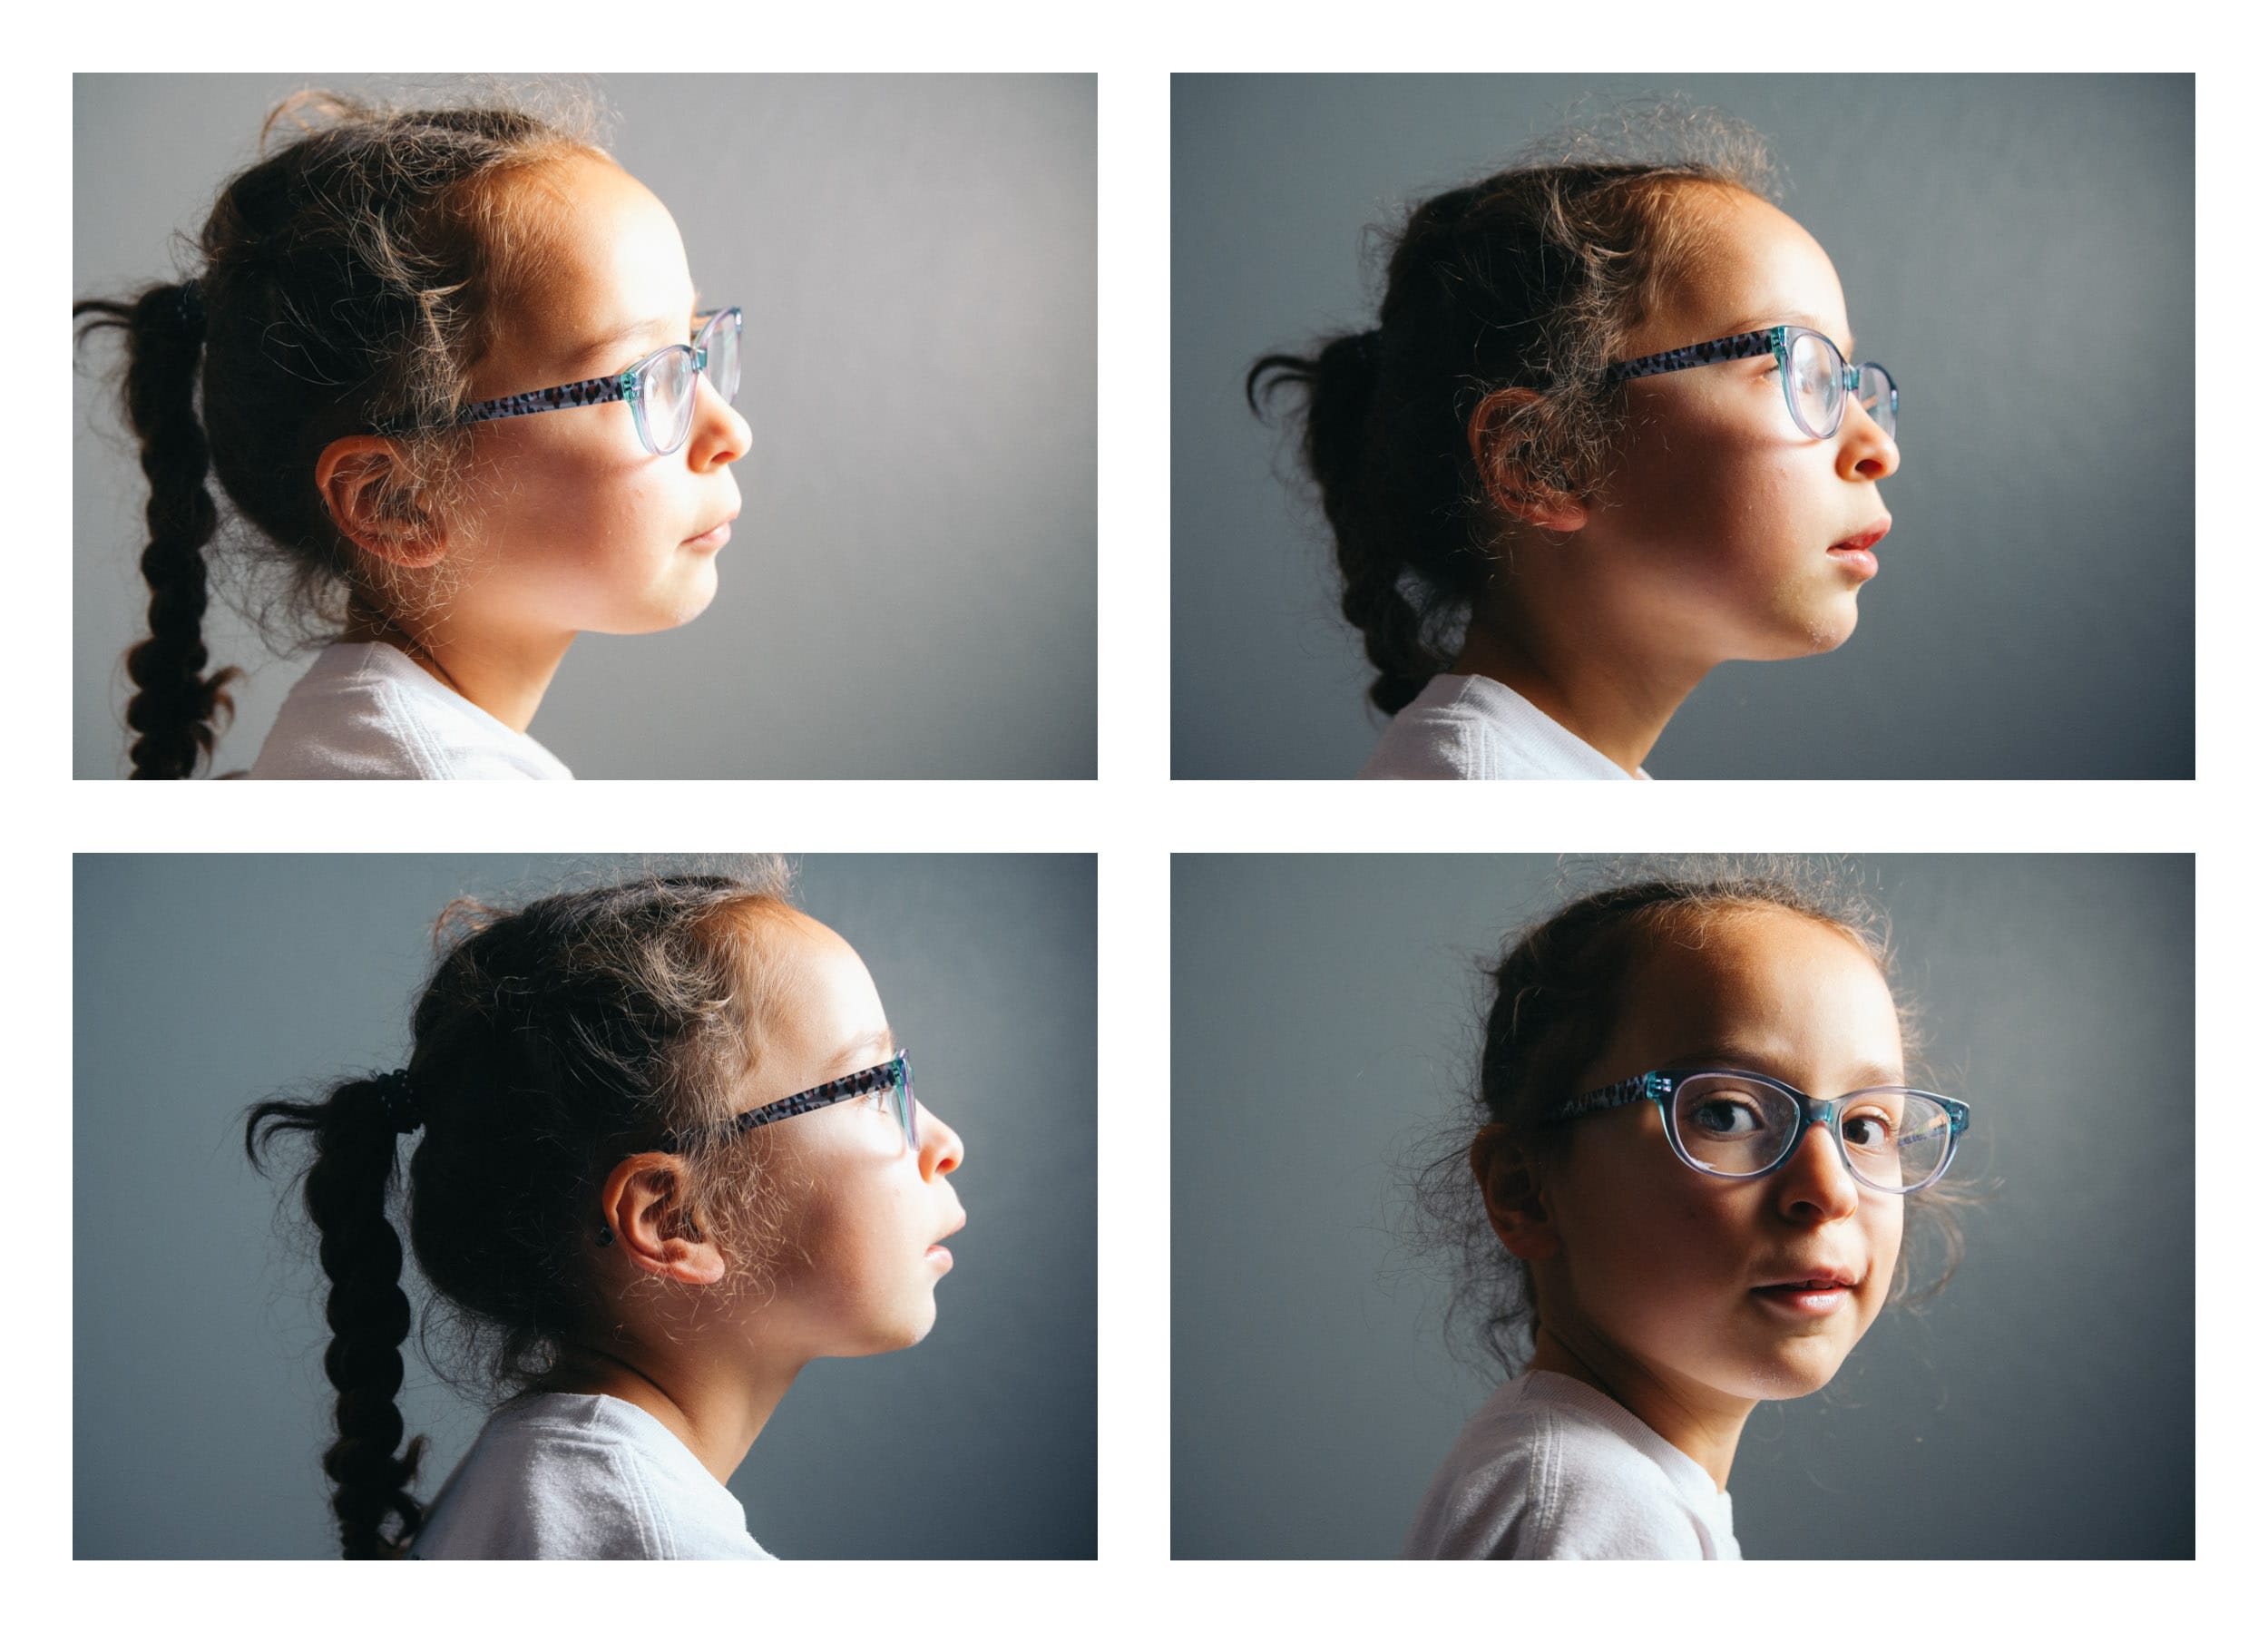
This first set, the light was relatively close which gives the appearance she is looking at a screen, this was a bit unintentional but I liked the effect. I was trying to get her head turned slightly, as it is in the bottom-right shot. It took awhile to get there.
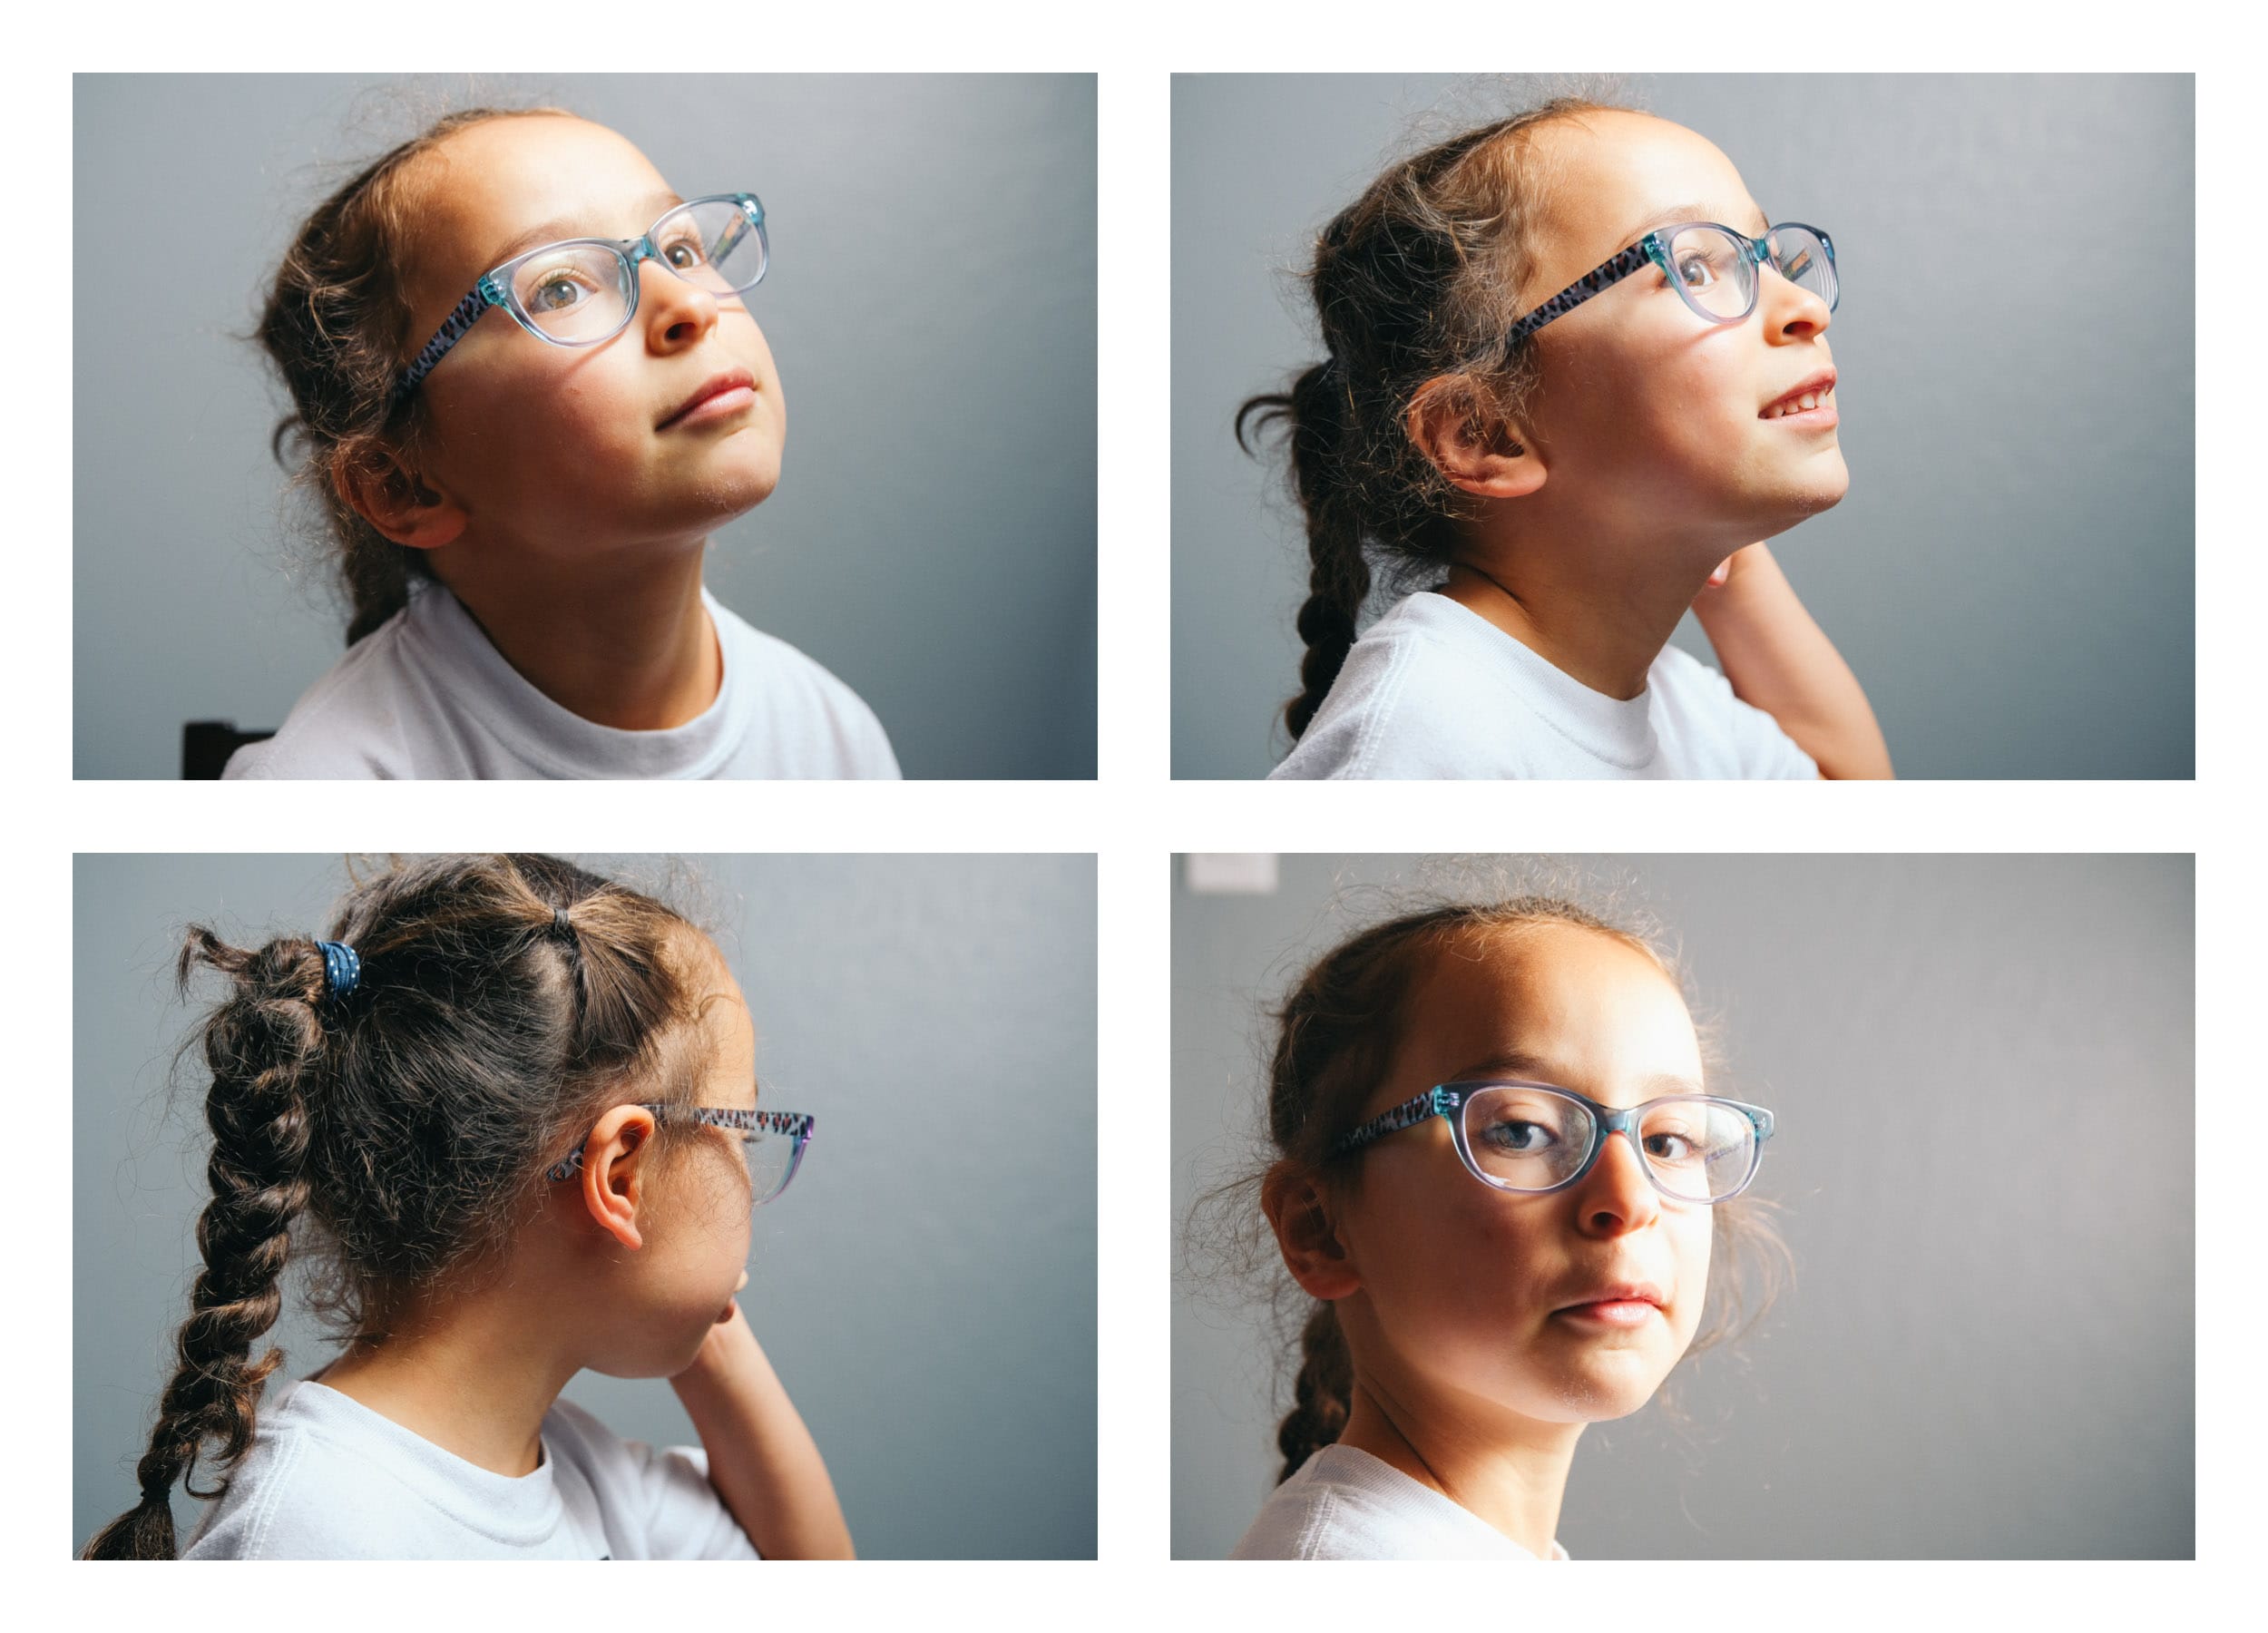
The next set, the top two were shot with the light higher up and to the camera right, the bottom two shots the light was a bit more even to the camera left. You can see the difference with a bit more light on her hair on the top shots.

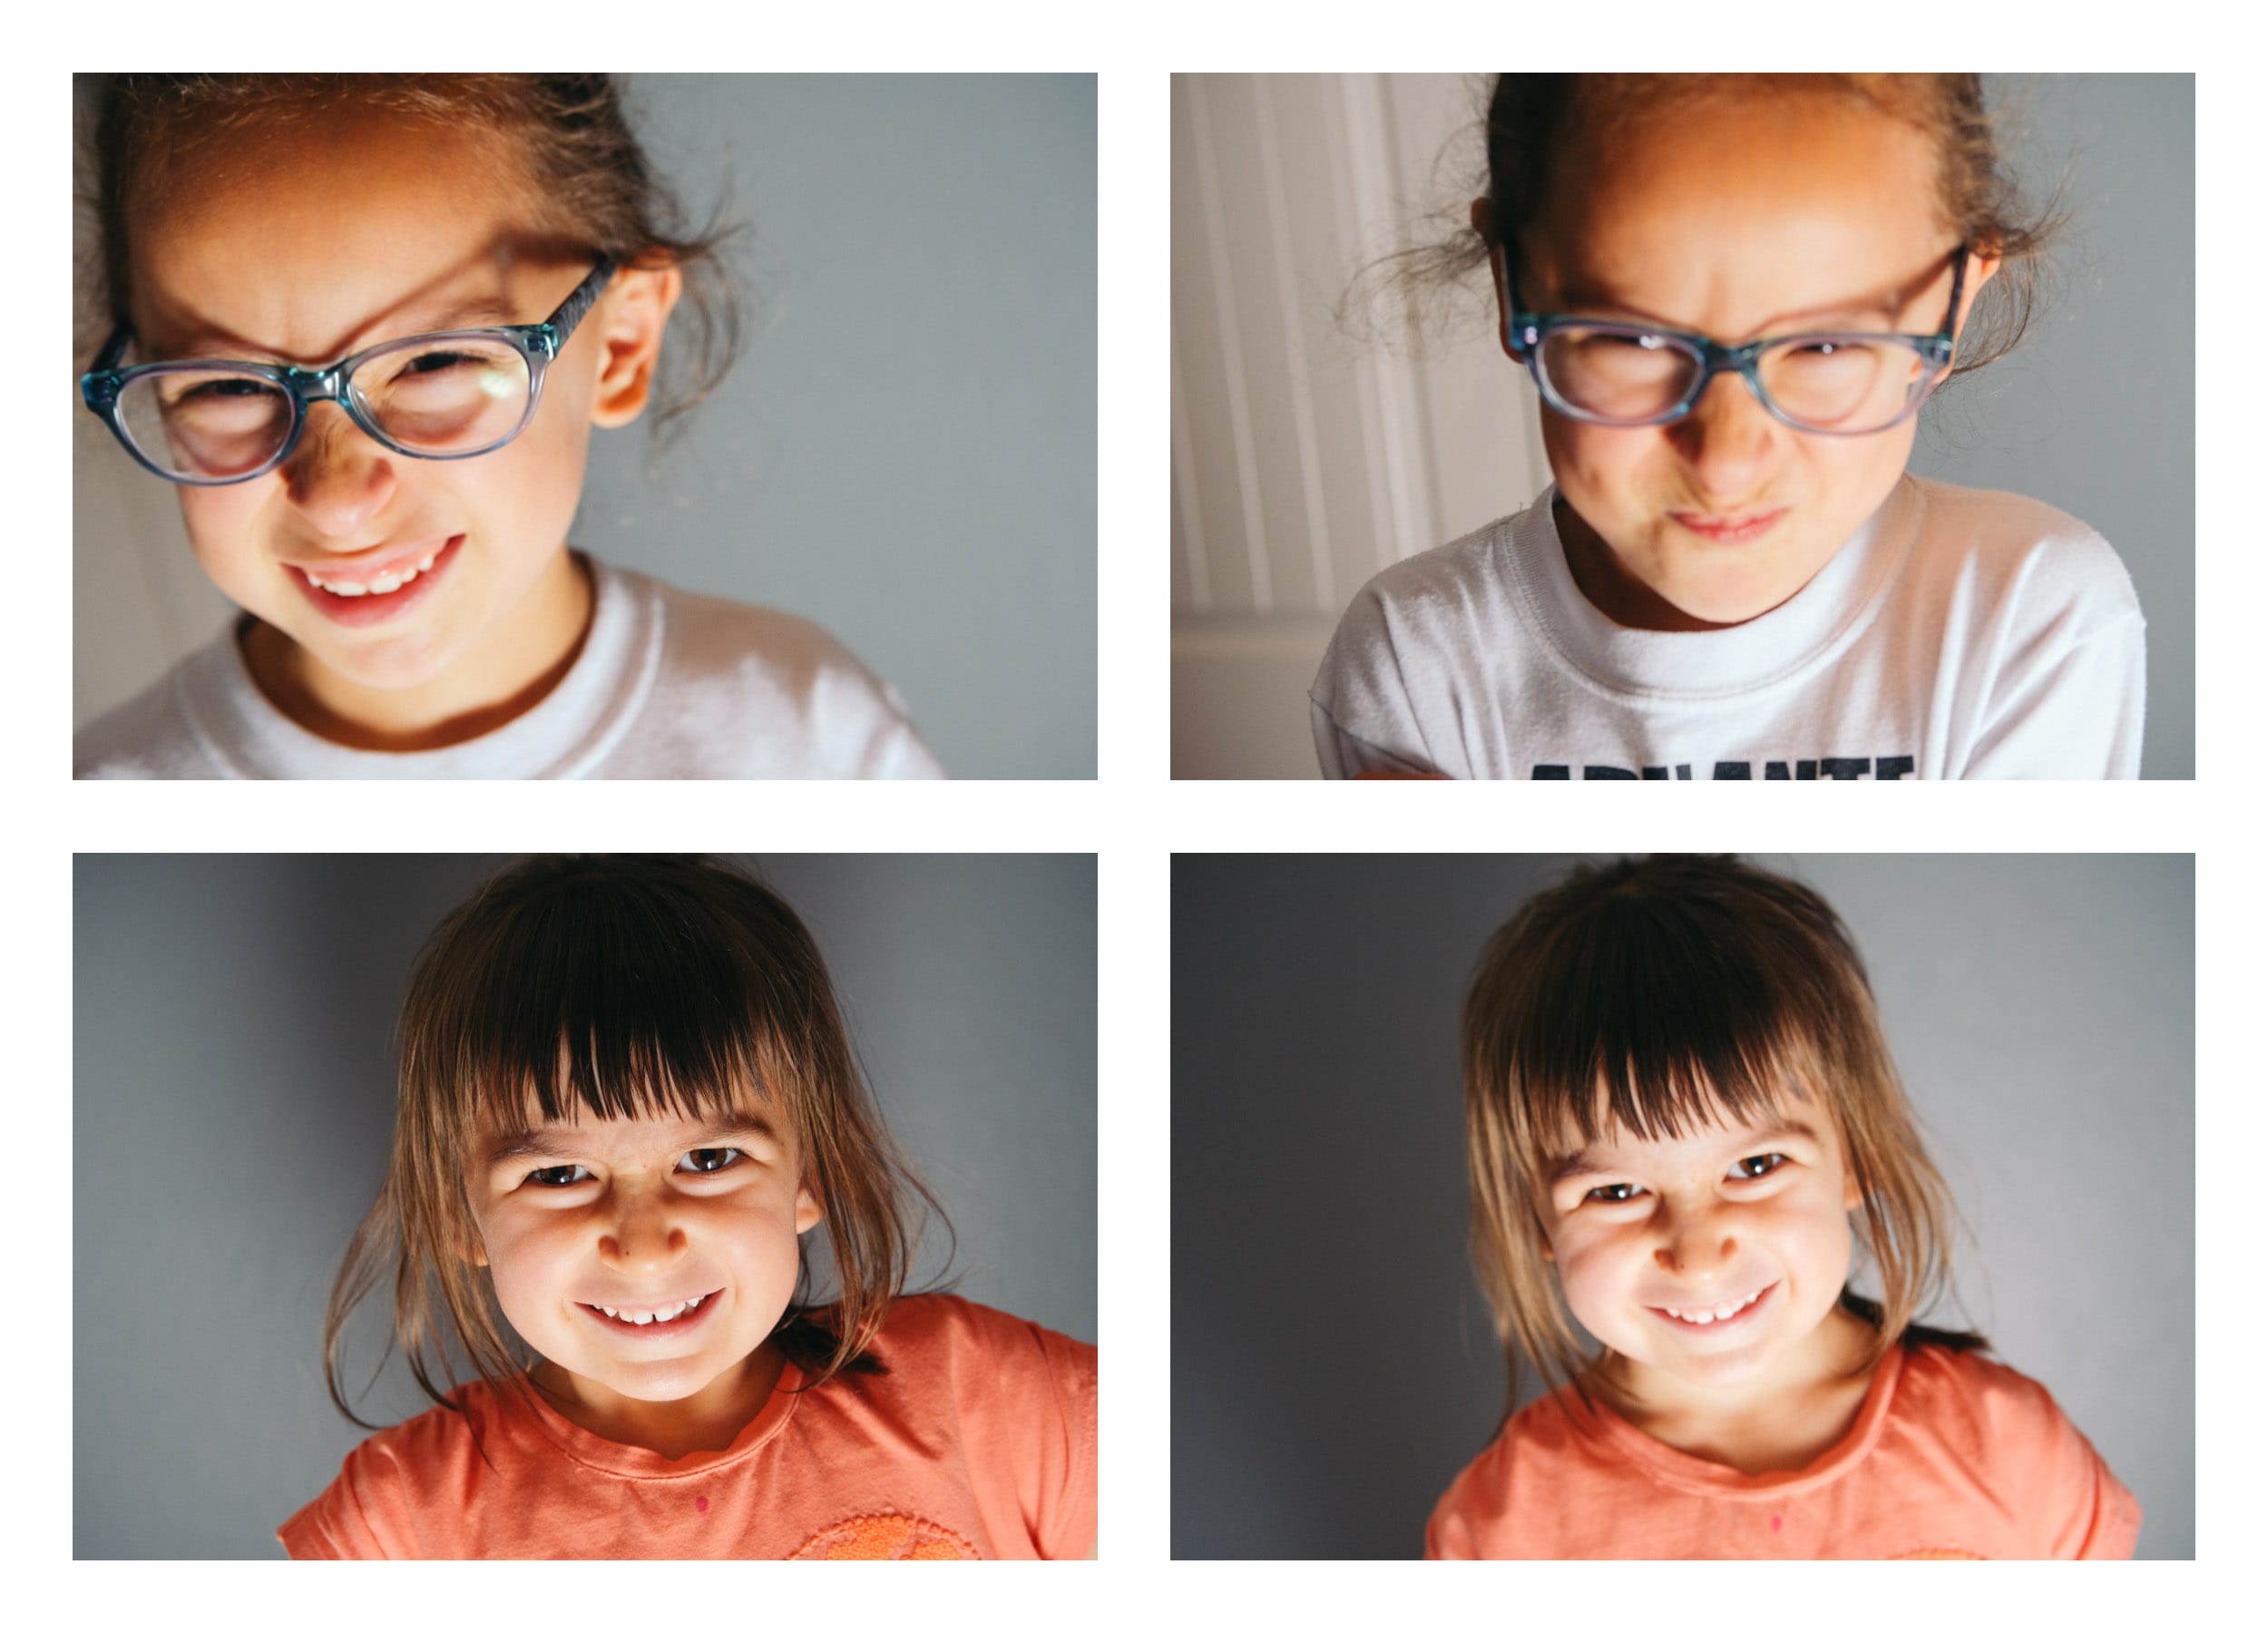
I moved the lighting below my daughters to try and make scary shots. They ended up a little blurry because they were having too much fun making scary faces and I was laughing while shooting.
This last set, the light was up and to the camera right, looking at them now it seems a little strong with the flash, the highlights are blowing out a little.
The settings are relatively not important, since it is dependent on your scene. The camera was set to f/4 at 1/1250 with ISO 400, a setting such that a non-flash shot barely registers anything. I then simply take several test shots to get flash strength dialed in. I didn’t really adjust flash strength much after, which I should of done a few minor adjustments as I moved it around.
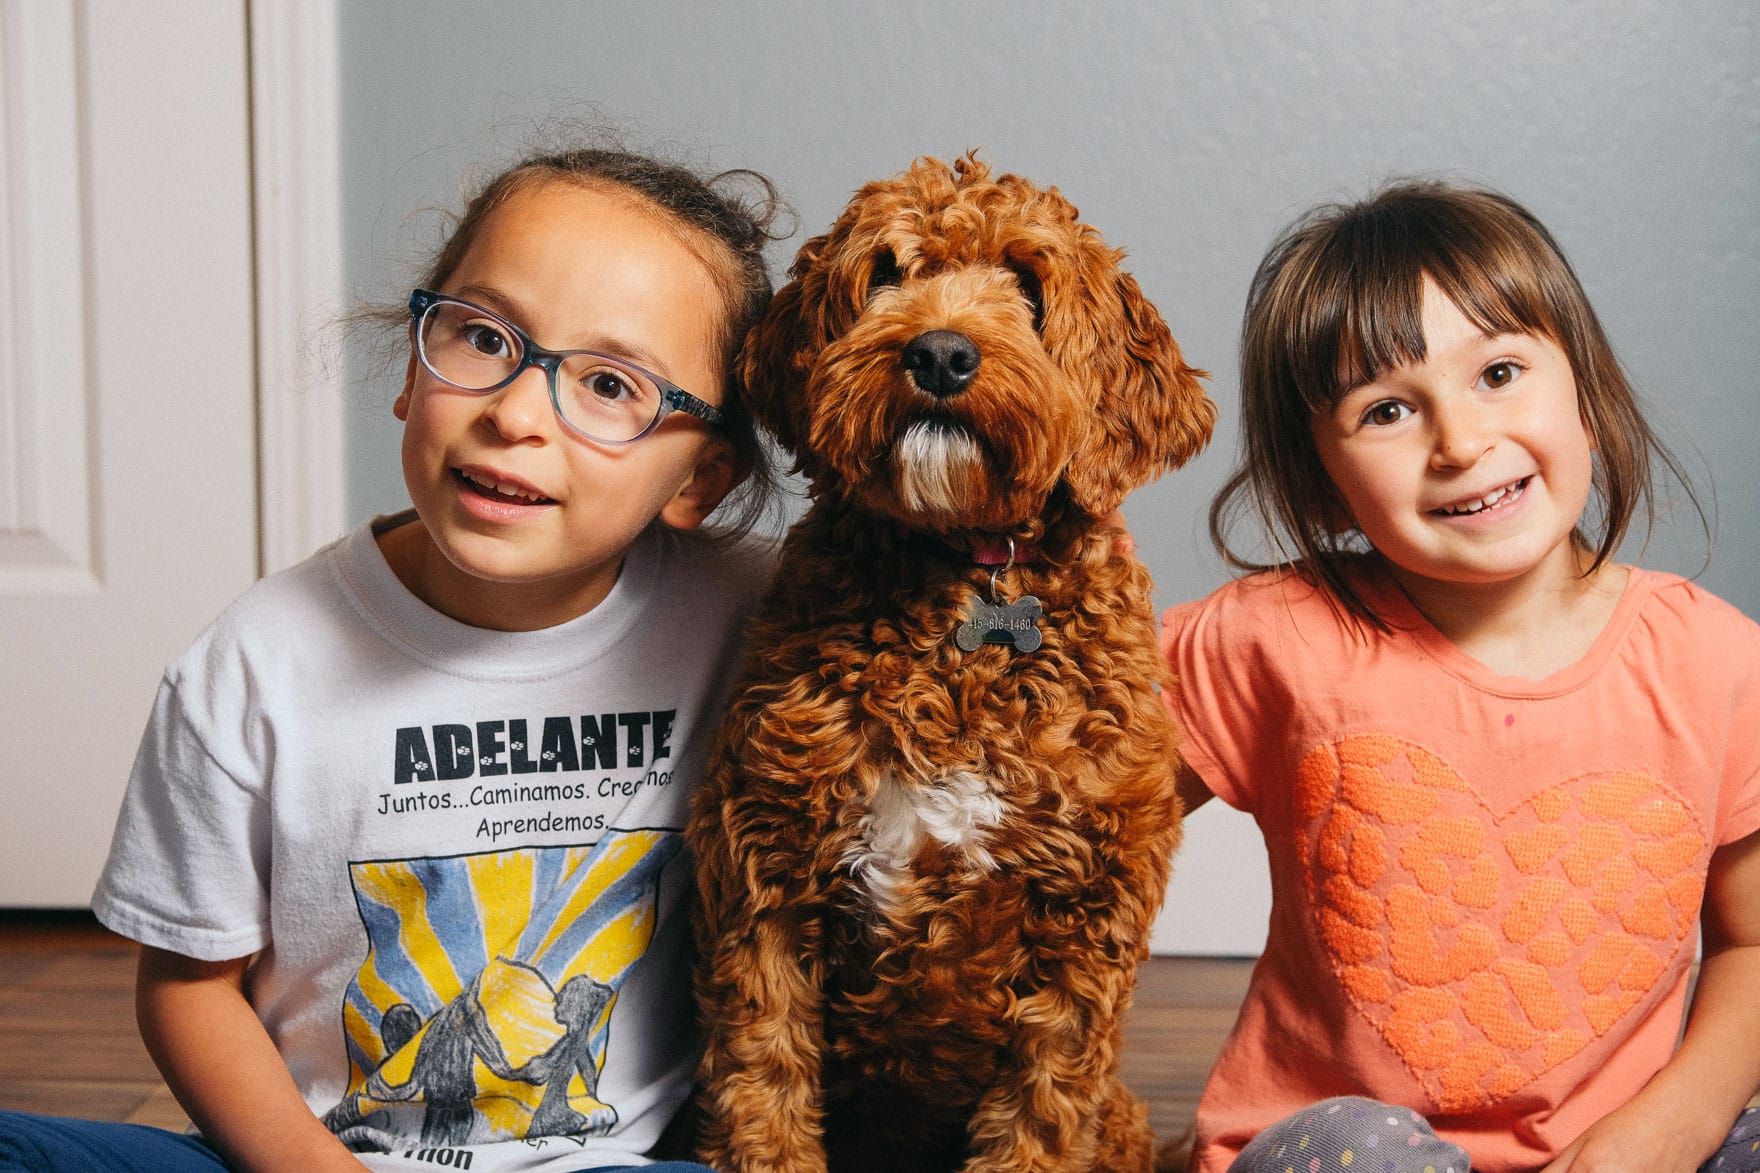
The lead shot at top with the dog was lit from the front, with the umbrella behind and slightly to the camera right.